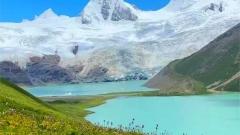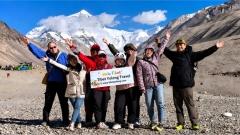

Standing before the massive ice walls of the Karuola Glacier is an experience that permanently alters how you perceive landscape photography. Located along the winding route between Gyantse and Lhasa, this accessible glacier offers photographers a rare opportunity to capture ancient ice up close without embarking on a multi-day mountaineering expedition. However, photographing glacial ice at over 5,000 meters above sea level presents unique technical and physical challenges that require careful preparation. Mastering Karuola Glacier close-up shooting tips Tibet demands a blend of specialized gear knowledge, precise exposure techniques, and high-altitude awareness. Whether you are chasing the intricate blue hues hidden within deep crevasses or documenting the raw textures of melting seracs, understanding how light interacts with ancient ice will elevate your portfolio significantly. This comprehensive guide explores every critical aspect of capturing detailed, compelling images of one of Tibet’s most photogenic natural wonders.
✨ Highlights:
- Use polarizing filters to manage intense ice glare effectively.
- Shoot during early morning or late afternoon for optimal contrast.
- Prioritize wide-angle lenses for immersive close-up perspectives.
- Acclimatize properly to maintain steady hands at high altitudes.
- Adjust white balance manually to preserve authentic ice colors.
Essential Gear for Karola Glacier Close-Up Shooting Tips Tibet
When preparing for a photography session at the Karuola Glacier, your equipment choices directly dictate the quality of your close-up images. The extreme environment requires gear that balances optical excellence with rugged durability. Unlike standard landscape photography where telephoto lenses often dominate, close-up glacier work relies heavily on optics that allow you to get physically near your subject while maintaining sharp focus across complex, uneven surfaces.
A high-quality wide-angle lens, typically in the 16-35mm range for full-frame cameras, is arguably the most important tool for this specific task. Wide-angle lenses force you to step closer to the ice, creating a sense of scale and immersion that longer focal lengths simply cannot replicate. When you position a 16mm lens just inches away from a textured ice wall, the resulting image draws the viewer directly into the frozen landscape. The exaggerated perspective emphasizes the jagged ridges, deep meltwater channels, and trapped air bubbles that define the glacier’s surface.
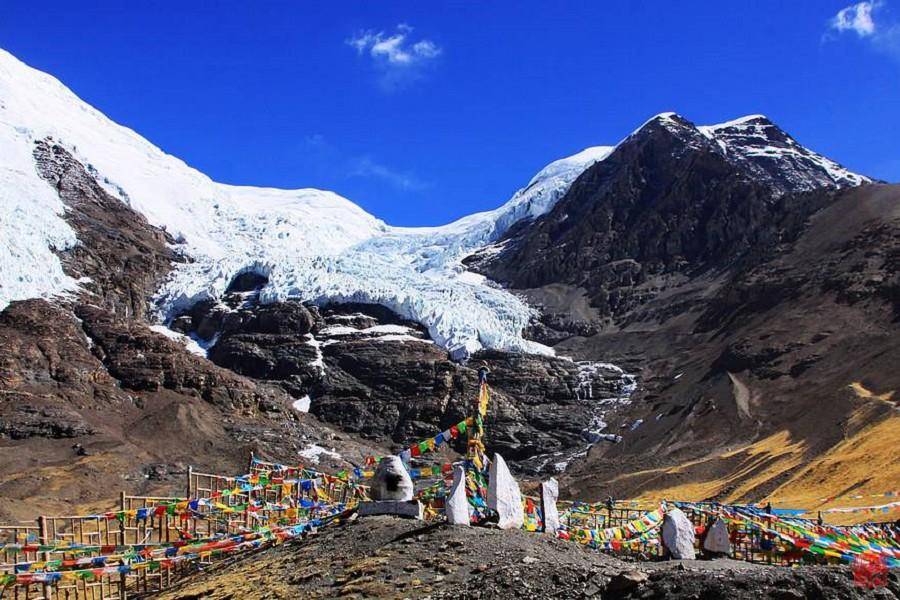
Karola glacier
Alongside your primary lens, a dedicated macro lens, such as a 90mm or 105mm macro, serves a vital secondary role. While wide-angle lenses capture the grandeur of the immediate surroundings, a macro lens allows you to isolate microscopic details—the crystalline structure of freshly fractured ice, tiny suspended sediment particles, or delicate frost patterns forming on shaded surfaces. Switching between these two focal lengths throughout your shoot ensures a diverse and comprehensive visual story.
Filters are non-negotiable when executing Karuola Glacier close-up shooting tips Tibet successfully. A circular polarizer (CPL) is perhaps the single most valuable piece of glass you can attach to your lens here. Glacial ice acts as a massive reflector, bouncing sunlight in unpredictable directions. Without a polarizer, your close-up shots will likely suffer from blown-out highlights and washed-out textures. By rotating the CPL, you can cut through surface glare, revealing the deep, mesmerizing blues hidden beneath the ice’s outer layer. Additionally, carrying a set of neutral density (ND) filters allows you to slow down your shutter speed even in bright conditions, which is useful if you want to blur small trickles of meltwater flowing over the ice surface while keeping the surrounding textures razor-sharp.
Finally, consider your support system. A sturdy tripod is essential, but it must have wide, spiked feet to grip the slippery, uneven glacial surface safely. Standard rubber feet will slide dangerously on wet ice. Carbon fiber tripods are highly recommended because they remain lighter to carry at high altitudes and do not become as painfully cold to handle as aluminum alternatives when temperatures drop.
Mastering Light and Exposure for Ice Textures
Understanding light behavior at high altitudes is crucial for anyone studying Karuola Glacier close-up shooting tips Tibet. At over 5,000 meters, the atmosphere is significantly thinner, meaning there is less atmospheric scattering to diffuse sunlight. The result is light that is intensely directional, exceptionally bright, and capable of creating harsh, unforgiving shadows. Managing this extreme contrast is the primary technical challenge of glacier photography.
Timing your shoot makes all the difference. The midday sun, positioned almost directly overhead, flattens the texture of the ice and creates blinding reflections that even strong polarizers struggle to control. Instead, aim to photograph during the golden hours—shortly after sunrise or just before sunset. During these windows, the sun sits lower on the horizon, casting long, raking light across the glacier’s surface. This side-lighting dramatically accentuates the three-dimensional textures of the ice, highlighting every ridge, groove, and fracture line. The warm color temperature of low-angle sunlight also creates a striking complementary contrast against the cool blue tones of the glacier.
Overcast days, often viewed negatively by landscape photographers, are actually exceptional opportunities for close-up glacier work. Thick cloud cover acts as a giant softbox, diffusing the intense Tibetan sunlight into a soft, even illumination. Under these conditions, the true color of the ice emerges without the distraction of harsh specular highlights or deep, detail-crushing shadows. If you find yourself at the Karuola Glacier under a blanket of clouds, use the time to focus purely on color gradients and subtle textural shifts within the ice.
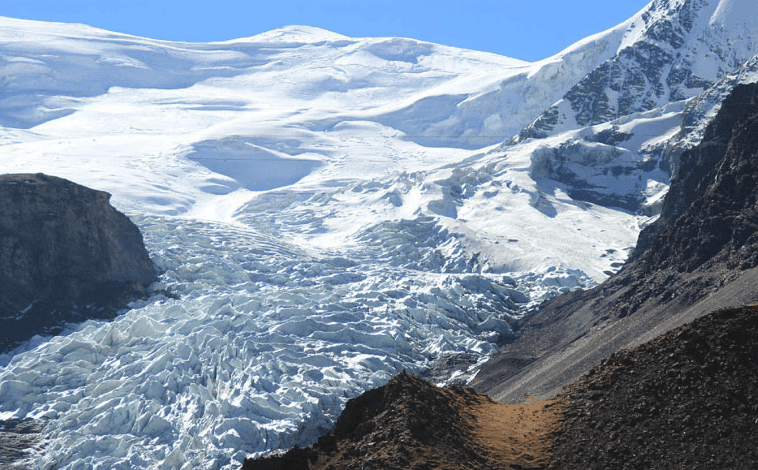
Exposure metering requires careful attention. Modern camera metering systems are calibrated to render scenes as middle gray (18% reflectance). Because glacial ice is significantly brighter than middle gray, your camera’s automatic metering will consistently try to underexpose the scene, resulting in dull, gray-looking ice rather than brilliant white and blue. To counteract this, you must apply positive exposure compensation, typically ranging from +1 to +2 stops depending on the lighting conditions and how much of the frame is filled with ice. Always rely on your histogram rather than the rear LCD screen, which can be difficult to read accurately in bright alpine sunlight. Ensure the histogram is pushed to the right without clipping the highlights, preserving maximum detail in the brightest areas of the ice.
White balance is another critical setting. Leaving your camera on Auto White Balance (AWB) often results in inconsistent color rendering, especially as lighting conditions shift rapidly in mountainous environments. For Karuola Glacier close-up shooting tips Tibet, setting a custom white balance or using the Kelvin scale provides far more reliable results. Glacial ice naturally absorbs red and yellow wavelengths, reflecting blue. If your white balance is too warm, you risk neutralizing this beautiful natural blue, making the ice look artificially white. Conversely, setting the white balance slightly cooler (around 4500K-5000K) enhances the natural cyan and sapphire tones inherent in dense, compressed ice.
Composition Techniques for Capturing Glacier Details
Composition at the edge of a glacier requires a shift in mindset. You are no longer looking at sweeping vistas; you are hunting for abstract shapes, leading lines, and isolated moments of geological drama. Applying strong compositional principles transforms simple snapshots of ice into compelling fine-art photographs.
The rule of thirds remains relevant, but in close-up glacier photography, filling the entire frame with texture often yields more powerful results. When you fill the frame entirely with the fractured surface of the Karuola Glacier, you remove all external context, forcing the viewer to engage solely with the patterns, colors, and forms of the ice itself. Look for repeating geometric patterns—hexagonal frost crystals, parallel stress fractures, or the rhythmic scalloping caused by wind erosion. These natural repetitions create a visual rhythm that holds the viewer’s attention.
Leading lines are abundant on glaciers. Meltwater channels carve sinuous paths through the ice, acting as perfect natural leading lines that guide the eye through the frame. Position yourself so that these channels originate from the bottom corners of your image, drawing the viewer’s gaze inward toward a focal point, such as a particularly deep crevasse or a striking formation of blue ice. Similarly, the sharp edges of seracs (towers of ice) can serve as diagonal lines that inject dynamic energy into your composition.
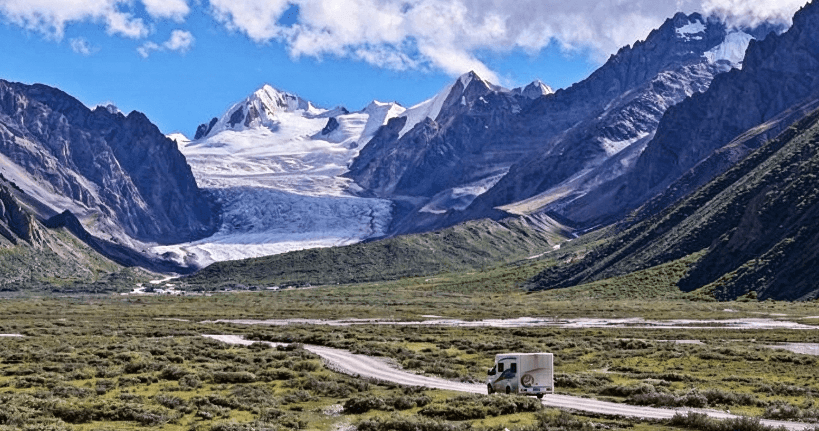
Scale is notoriously difficult to convey in close-up photography. Without a reference point, a two-inch crack looks identical to a twenty-foot chasm. To provide context, introduce elements of known size into your frame. A climbing rope draped over an ice edge, a brightly colored glove resting on a ledge, or even a fellow photographer standing slightly further back can instantly communicate the massive scale of the glacier’s features. When utilizing Karuola Glacier close-up shooting tips Tibet, remember that human elements, used sparingly, anchor abstract ice formations in reality.
Depth of field management dictates how the viewer experiences your image. For sweeping close-ups where you want the entire textured surface to appear sharp from foreground to background, use a narrow aperture (f/11 to f/16). Be aware that diffraction begins to soften images beyond f/16 on many modern sensors, so test your specific lens beforehand. Alternatively, use a wide aperture (f/2.8 to f/4) to isolate a single fascinating detail—a trapped stone, a unique bubble cluster, or a sharp ice crystal—while allowing the surrounding ice to melt into a smooth, creamy bokeh. This selective focus technique directs the viewer’s eye exactly where you want it, creating an intimate, almost portrait-like relationship with the glacier.
High Altitude Challenges and Physical Preparation
No discussion of Karuola Glacier close-up shooting tips Tibet is complete without addressing the profound impact of high altitude on both the photographer and the photographic process. The Karuola Glacier sits at approximately 5,036 meters (16,522 feet), an elevation where oxygen levels are roughly half of what they are at sea level. This environment introduces physical variables that directly affect your ability to operate camera equipment effectively.
Altitude sickness is a genuine concern. Symptoms such as headaches, nausea, dizziness, and shortness of breath can onset rapidly, severely compromising your concentration and physical coordination. Fine motor skills deteriorate at high altitudes, making tasks like adjusting small camera dials, changing lenses, or threading a filter onto a lens unexpectedly difficult. Acclimatization is mandatory. Spend several days at intermediate elevations, such as Lhasa (3,650 meters) or Gyantse (3,977 meters), before attempting serious photography at the glacier. Hydrate aggressively, avoid alcohol, and move slowly. Rushing to set up a shot increases your heart rate and exacerbates altitude symptoms, ultimately ruining your shooting session.
Cold temperatures present another significant hurdle, even during summer months. Wind chill at the glacier’s face can drop temperatures well below freezing. Cold drains lithium-ion camera batteries at an alarming rate. A battery that lasts for 800 shots at sea level might fail after 200 shots at 5,000 meters in the cold. Carry multiple spare batteries and keep them in inner pockets close to your body heat until the exact moment you need them. Rotate batteries frequently, swapping a cold one out for a warm one to maximize shooting time.
Handling metal camera bodies and glass lenses with bare hands in freezing, windy conditions is painful and unsustainable, yet thick winter gloves destroy your tactile feedback. Invest in a layered glove system: thin, form-fitting liner gloves made of merino wool or synthetic materials that allow you to operate buttons and dials, paired with heavy insulated mittens that you wear between shots. This system protects your extremities while preserving the dexterity required for precision camera work.
Condensation is a silent killer of photographic outings. Moving from the freezing exterior into a heated vehicle causes moisture in the air to instantly condense on your cold lens elements and camera sensor, fogging your glass and potentially introducing moisture into the camera body. Before entering a warm space, seal your camera and lenses inside an airtight plastic bag or your padded camera backpack. Allow the gear to gradually acclimate to the warmer temperature over an hour or two before opening the bag. This simple habit prevents internal fogging and protects sensitive electronics.
Navigating Safety and Environmental Respect at Karuola
Glaciers are dynamic, living landscapes, not static museum exhibits. They move, calve, melt, and shift constantly. Executing Karuola Glacier close-up shooting tips Tibet safely requires respecting the inherent dangers of the environment. Never venture onto the glacier itself without proper mountaineering equipment, including crampons, ice axes, and roped travel companions. The snow bridges covering hidden crevasses can collapse without warning. Stick to established viewing areas and stable moraines where close-up photography of ice blocks and the glacier’s terminus is possible without risking your life.
Falling ice is another hazard. As temperatures rise, especially in the afternoon, chunks of ice frequently break away from the main glacier face. Listen for cracking sounds and never position yourself directly beneath overhanging seracs or steep ice cliffs, regardless of how spectacular the photographic angle might be. Maintain situational awareness at all times; becoming overly fixated on your viewfinder blinds you to shifting environmental hazards.
Environmental responsibility is paramount. Glaciers worldwide are retreating due to climate change, and the Karuola Glacier is no exception. Dark particles left on the ice—such as dropped food wrappers, soot, or even excessive foot traffic—lower the ice’s albedo (reflectivity), causing it to absorb more solar radiation and melt faster. Practice strict Leave No Trace principles. Pack out everything you bring in. Do not chip off pieces of ice as souvenirs. Treat the glacier with the reverence owed to an ancient, fragile ecosystem.
For those planning a comprehensive photographic expedition across Tibet, partnering with experienced local operators significantly enhances both safety and access. Agencies specializing in regional travel, such as Tibet Yulong Travel, understand the logistical intricacies of navigating high-altitude routes, securing necessary permits, and timing arrivals at locations like the Karuola Glacier to coincide with optimal lighting conditions. Their expertise allows photographers to focus entirely on their craft rather than worrying about transportation logistics, road conditions, or sudden weather changes. Utilizing professional local guidance ensures that your pursuit of Karuola Glacier close-up shooting tips Tibet translates into a seamless, productive, and deeply rewarding photographic journey across the Tibetan Plateau.
Post-Processing Strategies for Glacial Images
Capturing the raw file is only the first half of the process; developing your images thoughtfully brings out the subtle details observed during your shoot. When processing close-up glacier photos, restraint is key. Over-saturating the blues or applying excessive clarity sliders creates unnatural, garish images that misrepresent the serene majesty of the ice.
Begin by correcting any remaining exposure issues. If you exposed to the right in-camera, gently pull down the highlights to recover detail in the brightest ice facets, while lifting the shadows slightly to reveal depth in deep crevasses. Avoid crushing your blacks completely; glacial ice rarely contains pure black, and maintaining a slightly lifted shadow tone preserves the luminous quality of the frozen water.
Color grading should enhance, not invent. Use the HSL (Hue, Saturation, Luminance) panel to target specific color ranges. Slightly increasing the saturation and decreasing the luminance of the aqua and blue channels can make the deep ice cores pop without affecting the surrounding white or gray tones. Pay close attention to the yellows and oranges—if your image contains warm sunlight hitting the ice edges, ensure these tones complement rather than clash with the dominant blues.
Sharpening requires a targeted approach. Apply input sharpening carefully, masking out smooth areas like clear ice faces or blurred backgrounds, concentrating the sharpening effect solely on textured regions like frost patterns, rock debris, or fractured edges. This localized sharpening enhances the tactile feel of your close-up shots, making the viewer feel as though they could reach out and touch the rough, freezing surface of the Karuola Glacier.